Creating your own DIY moisturizer for glowing skin can be a rewarding and enriching experience. Not only can you customize the ingredients to suit your skin type, but you also get to enjoy the satisfaction of using something made from scratch. This article will guide you through selecting natural components, ensuring proper blending techniques, and understanding how each ingredient contributes to skin health. Whether you have oily, dry, or combination skin, you’ll find tailored recipes and tips that will help you achieve that coveted glow without the use of harsh chemicals.
Understanding Your Skin Type
Before diving into DIY moisturizer recipes, it’s essential to identify your skin type. Common types include oily, dry, combination, and sensitive. Oily skin often needs lightweight, non-comedogenic oils to prevent clogging pores, while dry skin benefits from richer, hydrating ingredients like shea butter and oils that lock in moisture. Combination skin requires a balance of both, and sensitive skin might necessitate gentle, hypoallergenic options. Knowing your skin type will help you select the most effective ingredients for creating a moisturizer that promotes a healthy, radiant appearance.
Key Ingredients for DIY Moisturizer
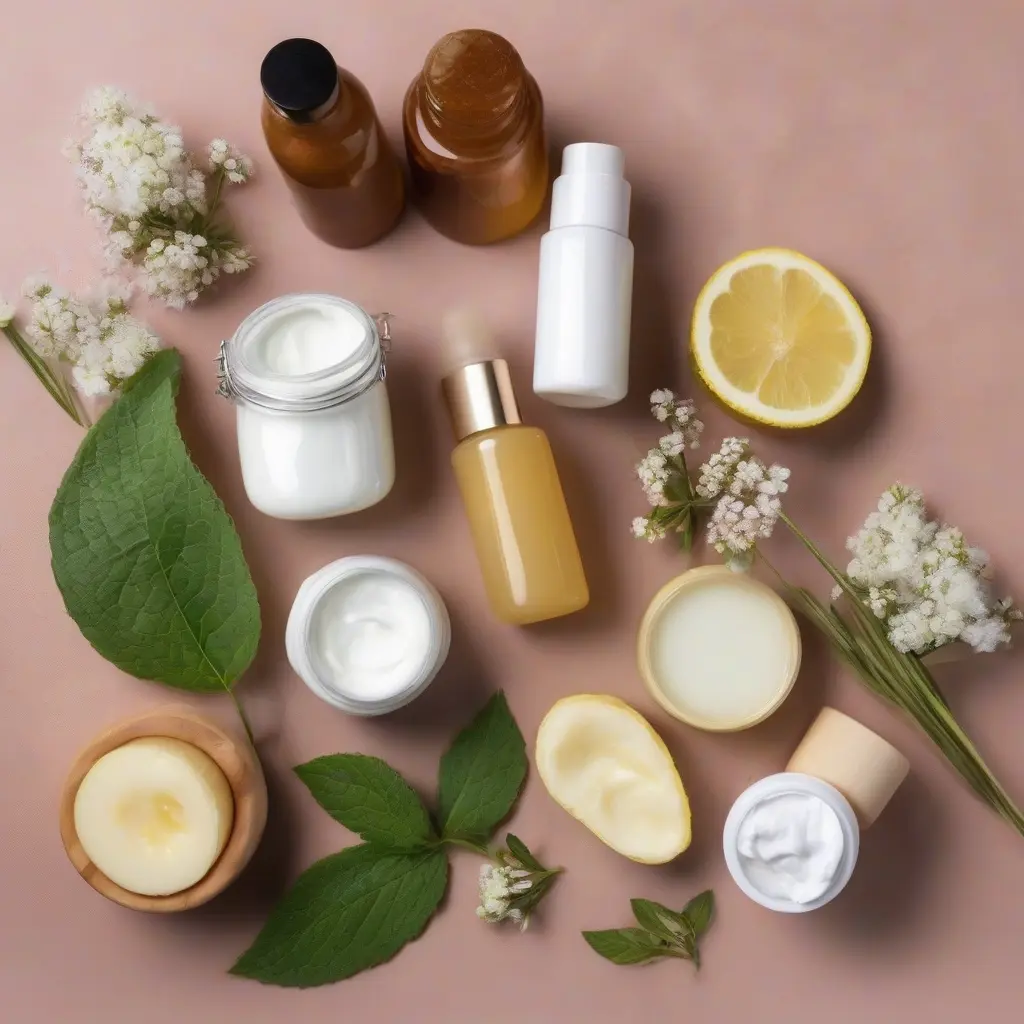
Effective DIY moisturizers are crafted from a range of key ingredients, each with distinct benefits. Natural oils, such as coconut, jojoba, and almond oil, are excellent for hydration. They mimic the skin’s natural oils, making absorption easy without leaving a greasy residue. Meanwhile, butters like shea and cocoa provide deep nourishment and protection. Aloe vera is another fantastic option, known for its soothing properties. Essential oils can also be added for fragrance and therapeutic benefits, such as lavender for calming effects and tea tree for its antibacterial properties.
Basic DIY Moisturizer Recipe
A simple DIY moisturizer can be made using basic ingredients like coconut oil and shea butter. Start by measuring out ½ cup of coconut oil and ¼ cup of shea butter. Melt both in a double boiler until fully liquefied. Once they cool slightly, incorporate 10-15 drops of essential oils, adjusting according to your preference. Mix well, then pour into a sterilized jar. Allow it to set for a few hours at room temperature until solid. This moisturizer hydrates the skin effectively and provides a soothing sensation, making it perfect for daily use.
Incorporating Natural Essential Oils
Essential oils greatly enhance the benefits of a DIY moisturizer by adding natural fragrances and therapeutic properties. For instance, lavender essential oil is perfect for relaxation and calming inflamed skin. Meanwhile, tea tree oil is known for its antiseptic qualities, making it ideal for those prone to breakouts. Citrus oils, such as orange or lemon, can brighten the skin, but it’s crucial to use them in moderation due to photosensitivity. Always ensure the essential oils you choose are safe for skin application and do a patch test beforehand to prevent allergic reactions.
Customization Tips for Unique Skin Needs
Customizing your DIY moisturizer allows you to cater to specific skin concerns. For example, if you have acne-prone skin, consider adding ingredients like jojoba oil or witch hazel, known for their oil-control properties. For dry skin, avocado oil or honey can boost hydration levels significantly. You can also mix in vitamin E oil for its antioxidant benefits, which helps to repair damaged skin. Tailoring your recipe according to your unique needs ensures that you achieve optimal results that promote radiant, healthy skin.
Storage and Shelf Life of DIY Moisturizers
Proper storage is crucial to prolonging the shelf life of your DIY moisturizer. Since natural ingredients lack preservatives, it’s best to store your moisturizer in a cool, dark place, such as a cabinet or refrigerator. Airtight containers are essential to avoid exposure to air and moisture, which can lead to spoilage. Typically, a homemade moisturizer can last up to a month when stored correctly, but check for any changes in scent or texture as indicators of spoilage. Using clean hands or a spatula to dispense the product will also help maintain its integrity.
DIY Moisturizer for Different Skin Types
Creating a moisturizer tailored to different skin types is key to maximizing their benefits. For oily skin, a lightweight blend using grapeseed oil and aloe vera is effective, delivering moisture without clogging pores. For sensitive skin, opt for a calming mixture of shea butter and chamomile essential oil to soothe irritation. Dry skin can benefit from a richer combination of coconut oil and vitamin E for deep hydration. Each formulation can significantly contribute to achieving the glowing skin everyone desires by addressing specific skin needs.
Benefits of Using DIY Moisturizers
The benefits of using DIY moisturizers extend beyond just skincare. They offer the advantage of natural, organic ingredients free from harmful chemicals and preservatives. This reduces the risk of skin irritations and allergies, making them suitable for a wider audience. DIY moisturizers are also customizable, allowing you to create formulations specifically for your skin’s unique needs. Additionally, these handmade products often boast a personal touch that store-bought options simply cannot provide, giving users a deeper connection to their skincare routine.
Common Mistakes to Avoid
Avoiding common mistakes is vital for successful DIY moisturizer creation. One frequent error is not properly measuring ingredients. Accurate ratios are essential to ensure the mixture maintains its intended consistency and effectiveness. Additionally, neglecting to perform patch tests when using new essential oils can lead to adverse reactions. Failing to store the product correctly can also shorten its shelf life significantly. Always strive for cleanliness during preparation and ensure all containers are sterilized to maintain the moisturizer’s quality.
Conclusion
Making your own DIY moisturizer can be an enjoyable and beneficial practice that enhances your skincare routine. By understanding your skin type and selecting the right ingredients, you can create a moisturizer tailored to your unique needs. With a variety of recipes available, you can experiment and find what works best for you, ensuring that your skin remains healthy, moisturized, and glowing. Embrace the journey of crafting your natural skincare solution, and you’ll likely be pleased with the results.